Foolproof Lava Cakes: Secrets to Safe Gooey Centers & Easy Release
Few desserts can rival the sheer decadence and dramatic flair of a perfectly executed chocolate lava cake. That magical moment when your fork breaks through a delicate, set crust, unleashing a glorious flood of molten chocolate, is an experience in pure indulgence. Often considered a show-stopping romantic dessert, especially popular for occasions like Valentine's Day, many home bakers shy away, intimidated by the prospect of an undercooked mess or a cake stubbornly stuck to its pan. But fear not! Achieving that coveted safe, gooey center and ensuring an effortless release is entirely within your reach. This comprehensive guide will unveil the essential secrets to mastering the easy chocolate lava cake recipe, turning you into a molten chocolate maestro.
The Allure of the Molten Center: Safety & Science Behind the Gooey Goodness
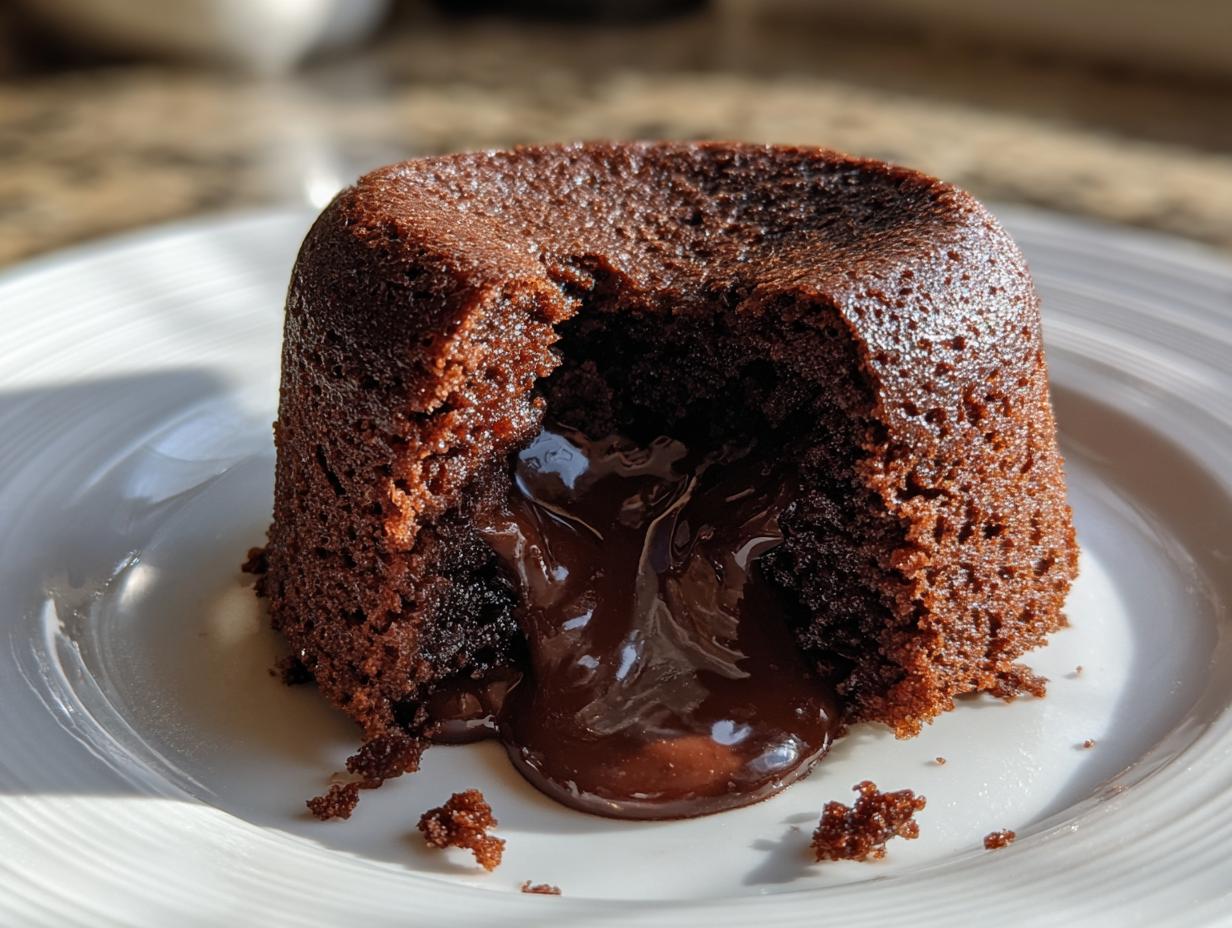
The very heart of a chocolate lava cake's appeal lies in its irresistibly gooey, molten center. This isn't raw, unsafe batter, but rather a perfectly engineered marvel of baking. The secret? It's simply a slightly underbaked cake batter, designed to achieve that specific, luxurious texture. While the edges of the cake bake and set firm, the center remains beautifully fluid and luscious.
Many aspiring bakers express concern about the safety of an "undercooked" center, especially when it comes to eggs. Let us put your mind at ease: the gooey chocolate center is perfectly safe to eat. During the baking process, even with a shorter bake time, the internal temperature of the eggs reaches a crucial 160 degrees Fahrenheit (71 degrees Celsius). This temperature is sufficient to cook the eggs thoroughly, eliminating any food safety worries while preserving that desired molten consistency.
What truly sets a superior chocolate lava cake recipe apart is the carefully balanced ratio of dry to liquid ingredients. Unlike a standard cake that aims for a uniform crumb, lava cakes boast an exceptionally low ratio of dry ingredients to liquids and fats. This imbalance is intentional, contributing directly to the cake's signature richness, intense chocolate flavor, and that gloriously melty, ooey-gooey texture. It prevents the center from solidifying completely, creating the molten effect we all crave.
To further intensify the chocolate experience, many expert bakers employ a clever trick: adding a touch of coffee or, more precisely, instant espresso granules, to chocolate desserts. If you're not a coffee aficionado, don't worry – these lava cakes won't taste like coffee at all. The espresso simply enhances and deepens the existing chocolate notes, making the chocolate taste "more chocolaty" without imparting any coffee flavor. It's a subtle but powerful enhancement that elevates the overall indulgence, proving how a simple baker's trick can truly boost flavor.
Mastering the Perfect Bake: Timing is Everything for Your Chocolate Lava Cake Recipe
Achieving that perfectly molten core is a delicate dance with your oven. Baking time is the single most critical factor in a successful chocolate lava cake recipe. Overbake, and you end up with a delicious but solid chocolate cake; underbake, and it might be too runny, losing its structural integrity.
- Ramekin Readiness: For standard six-ounce ramekins, a baking time of 11 to 12 minutes is generally recommended. However, every oven behaves differently, so consider this a starting point.
- Muffin Tin Magic: If you don't have ramekins, a standard muffin tin is an excellent alternative. Since muffin tins typically have smaller cavities than ramekins, you'll likely yield more cakes (around six instead of four) and need to adjust the baking time. Reduce the cook time to approximately 9 minutes for muffin tins to prevent overbaking.
How to Test for Doneness:
Start checking your cakes at the 9 to 10-minute mark. You're looking for specific visual and tactile cues:
- Firm Edges: The perimeter of the cake should appear set and firm.
- Jiggly Center: The center, however, should still be noticeably soft and jiggly when you gently shake the pan or lightly tap the side of a ramekin.
- The Finger Test (Gentle Poke): For an extra check, carefully and gently poke the center of a cake with your finger. If it feels very soft but the edges are firm, it's likely done. If your finger comes away with wet, liquid batter, bake for an additional 1 to 2 minutes. Resist the urge to poke too aggressively, as this can break the delicate crust.
What if I overbaked? Don't despair! While an overbaked lava cake won't have that signature runny center, it will still be a wonderfully rich and fudgy chocolate cake. It's not a failure, just a different (though still delicious) dessert. Make a mental note to reduce your baking time by 1 to 2 minutes next time to hit that molten sweet spot.
Secrets to Seamless Release: No More Stuck Cakes!
You've nailed the molten center, but the joy can quickly turn to frustration if your beautiful cake refuses to slide out of its dish. The key to effortless release is meticulous pan preparation. This step is non-negotiable for a truly foolproof chocolate lava cake recipe.
- Generous Buttering is Key: Forget miserly buttering. You need a liberal smear of softened butter in every nook and cranny of your ramekins or muffin tin. Use your fingers or a pastry brush to ensure complete coverage, paying special attention to the bottom and the sides all the way to the rim. Don't leave any gaps!
- Flour Power: Once buttered, lightly "snowfall" flour into each prepared dish. Rotate the ramekin or muffin tin to ensure the flour adheres to all the buttered surfaces, creating a thin, even coat. Tap out any excess flour – too much can leave a white residue on your cakes. Cocoa powder can be used instead of flour for chocolate cakes if you prefer, leaving no white residue.
- Why Skip Baking Spray? While baking spray is often a convenient shortcut for many recipes, it doesn't quite cut it for lava cakes. The precise, even coating of butter and flour creates a much more reliable barrier, preventing the delicate cake from sticking. Baking spray can sometimes leave sticky spots, especially with high-sugar batters.
- The Inversion Technique:
- Ramekins: Once baked, let the cakes cool for just 1-2 minutes in their ramekins. Then, carefully place a dessert plate upside down over each ramekin and, holding both together, quickly invert them. The cake should slide out cleanly.
- Muffin Tins: For muffin tins, you can often invert the entire tin onto a large cutting board or cooling rack. Then, use an offset spatula or a butter knife to gently lift and transfer each individual cake onto your dessert plates.
Beyond the Bake: Pairing & Personalizing Your Lava Cake
A chocolate lava cake is an experience in itself, but it truly shines when paired with complementary elements. These simple additions can elevate your dessert from delicious to unforgettable.
- Classic Toppings: A scoop of vanilla bean ice cream is a timeless pairing, offering a delightful contrast in temperature and texture. A drizzle of extra chocolate sauce (raspberry or caramel works wonders too!), a dusting of powdered sugar, or a sprinkle of flaky sea salt can add visual appeal and an extra layer of flavor.
- Fresh Fruit: Vibrant fresh berries, such as raspberries, strawberries, or blueberries, cut through the richness of the chocolate, adding a touch of acidity and freshness.
- Wine Pairings: For the ultimate adult indulgence, consider pairing your lava cake with a rich and robust red wine like a Cabernet Sauvignon. Its bold tannins and dark fruit notes beautifully complement the intense chocolate. Alternatively, a fortified dessert wine such as Port offers a sweeter, more luxurious pairing experience.
- Customization: The versatility of the chocolate lava cake recipe allows for endless personalization.
- Peanut Butter Swirl: For a delightful twist, add a dollop of peanut butter to the center of the batter before baking for a gooey peanut butter lava core.
- Nutty Additions: Fold in chopped nuts like pecans or walnuts into the batter, or sprinkle them on top.
- Flavored Extracts: A few drops of peppermint, almond, or orange extract can transform the flavor profile.
- Spice It Up: A pinch of cayenne pepper can add a surprising and exciting kick for a Mexican chocolate flair.
- Different Chocolates: Experiment with different types of chocolate for your lava cake, such as dark chocolate with a higher cocoa percentage for a more intense flavor, or even a mix of milk and semi-sweet.
Remember, this truly is an easy, last-minute treat that often calls for just seven pantry ingredients and comes together in under 25 minutes from start to finish. It’s the perfect dessert to make when you’re craving indulgence without a lengthy commitment.
Conclusion
There's a reason the chocolate lava cake remains a beloved classic: its irresistible combination of rich chocolate, molten center, and elegant presentation. By understanding the simple science behind its safe gooey core, mastering the nuanced art of baking time, and meticulously preparing your pans for an easy release, you can confidently create a truly foolproof chocolate lava cake recipe every single time. So, gather your ingredients, preheat your oven, and prepare to impress yourself and your loved ones with this truly decadent, yet surprisingly achievable, dessert.
